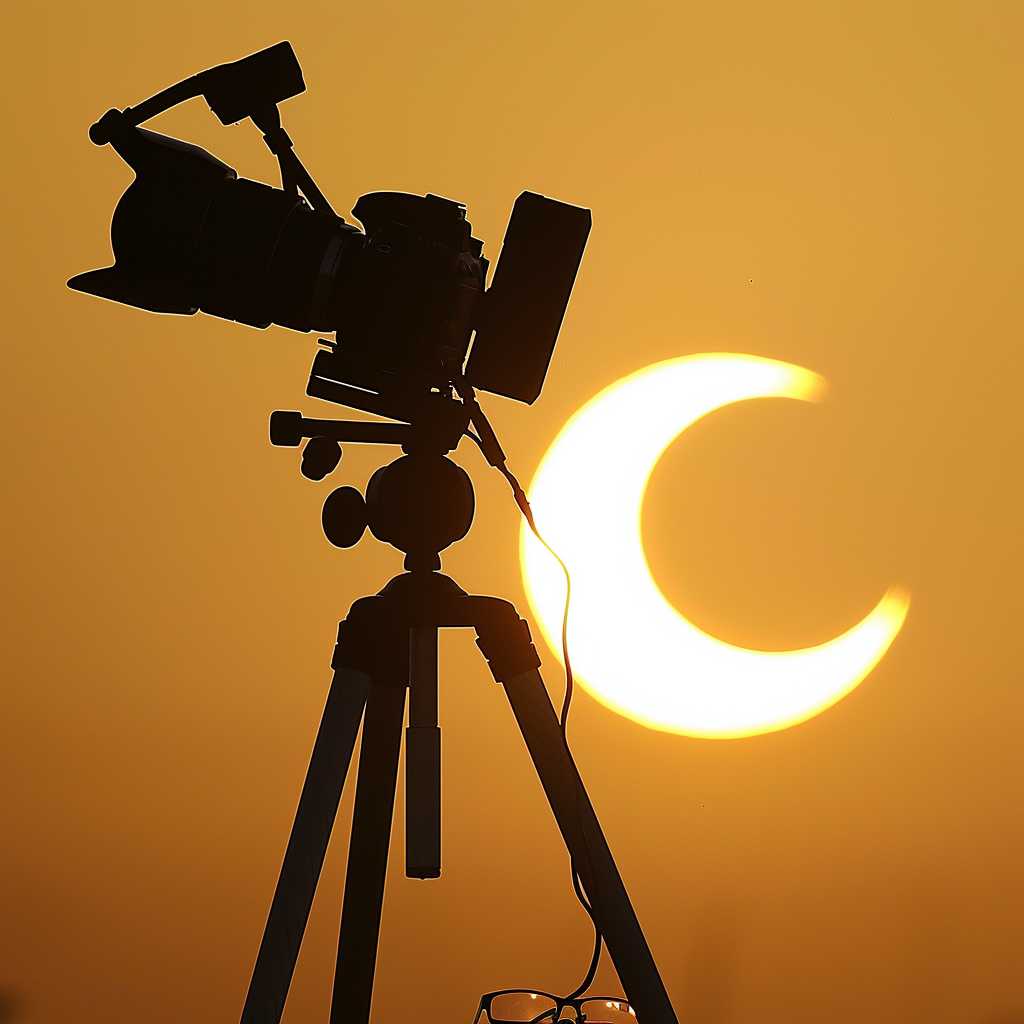
Understanding Solar and Lunar Eclipses and How to Photograph Them Safely
Eclipses are among the most awe-inspiring astronomical events that can be viewed from Earth. Witnessing a solar or lunar eclipse is an unforgettable experience, and many people wish to capture the moment by taking photographs. However, taking a picture of an eclipse is not as straightforward as snapping a regular photo; it requires preparation and knowledge of safe photography practices to protect both your eyes and your equipment. This article will provide a comprehensive guide on how to photograph eclipses safely.
The Phenomena of Eclipses: Solar and Lunar
Eclipses occur when one celestial body moves into the shadow of another. A solar eclipse takes place when the moon passes between the Sun and Earth, casting a shadow on our planet and, in some areas, momentarily bringing daylight into darkness. In contrast, a lunar eclipse occurs when the Earth is positioned between the Sun and the moon, causing the Earth’s shadow to obscure the moon or give it a reddish tint.
Types of Solar Eclipses: From Partial to Total
Solar eclipses are categorized into three main types: partial, annular, and total. A partial solar eclipse happens when only part of the Sun is obscured by the moon. An annular eclipse occurs when the moon is too far from Earth to completely cover the Sun, leaving a “ring of fire” visible. A total solar eclipse is perhaps the most dramatic, during which the moon fully covers the Sun for a brief time.
Getting Ready to Photograph an Eclipse: Essential Equipment
Capturing an eclipse requires more than just a standard camera setup. Since looking directly at the sun can cause severe eye damage, one must use special filters to photograph it safely. Here’s what you’ll need for photographing an eclipse:
– A camera: A DSLR or mirrorless camera with manual mode capability is recommended for maximum control.
– A long lens: To get a close-up image of the eclipse, you’ll need at least a 200mm lens.
– A solar filter: This must be attached to your lens to protect your eyes and camera sensor from the intense sunlight.
– A sturdy tripod: This ensures that your camera remains stable for sharp photos.
– Extra batteries and memory cards: Eclipses can last for several hours, so it’s better to be prepared.
Solar Photography Safety Tips
When taking pictures of a solar eclipse, safety is paramount. Making a mistake here can damage your vision and equipment. Some safety tips include:
– Never look at the Sun through your camera, telescope, or any optical device without a certified solar filter.
– Only use purpose-made solar filters designed for cameras or telescopes.
– Test your setup prior to the day of the eclipse so that you can make adjustments without pressure.
– Ensure that your solar filter is free from scratches or damages before using it.
The Process of Photographing an Eclipse
Step 1: Setting Up Your Equipment
Initially, set up your tripod and mount your camera securely. Attach your solar filter before pointing your camera at the Sun.
Step 2: Framing the Shot
Using your camera’s viewfinder or LCD screen (while making sure that any direct optical path to the Sun is filtered), frame your shot so that there is enough space around the Sun’s disc for its corona to be visible during totality if you’re expecting a total solar eclipse.
Step 3: Focusing
Solar eclipses generally require manual focusing. Aim to establish a sharp outline of the Sun or its edges if it’s already partially eclipsed.
Step 4: Camera Settings
Choosing manual mode on your camera is crucial for photographing an eclipse. Adjust shutter speeds properly — shorter for brighter phases, longer as totality approaches when capturing a solar eclipse.
Step 5: Taking Multiple Exposures
Due to differing brightness levels throughout an eclipse, take multiple exposures to capture its full dynamic range. Bracketing shots from fast to slow will ensure detailed captures from the highlights to shadows.
Photographing a Lunar Eclipse Safely
When it comes to lunar eclipses, there is no need for specialized filters since you’re not dealing with bright sunlight reflecting off the moon. However, long lenses and tripods are still recommended for clarity and detail.
Camera Settings for Lunar Eclipses
For lunar eclipses where lighting conditions change as Earth’s shadow passes over the moon, start with higher ISO settings and slow shutter speeds. Continuously adjust these settings as necessary throughout the event.
Editing Eclipse Photographs
Capture in RAW format for more flexibility in post-production when bringing out details in both dark backgrounds and potentially overexposed regions like solar corona.
Combining Multiple Exposures into One Image
Often, combining images taken with different exposures (HDR) results in a more complete picture of an eclipse event by illustrating details not visible in a single exposure.
Notes
Image Description
An ideal image for this article would show a camera set up on a tripod pointed at a partially eclipsed sun with the sun high in a clear sky. The silhouette of the camera gear contrasts against dazzling conditions while an attached solar filter indicates safety measures being undertaken. Optionally, protective glasses may lie beside the equipment emphasizing human safety during such events.
